Measuring Sandpaper Grit Roughness

MEASURING SANDPAPER

OPTICAL PROFILING SANDPAPER GRIT

Our 3D optical profilometer is a powerful tool for measuring the surface topography of materials with high precision. For example, it can be useful for evaluating sandpaper grit – the subject of this case study. 

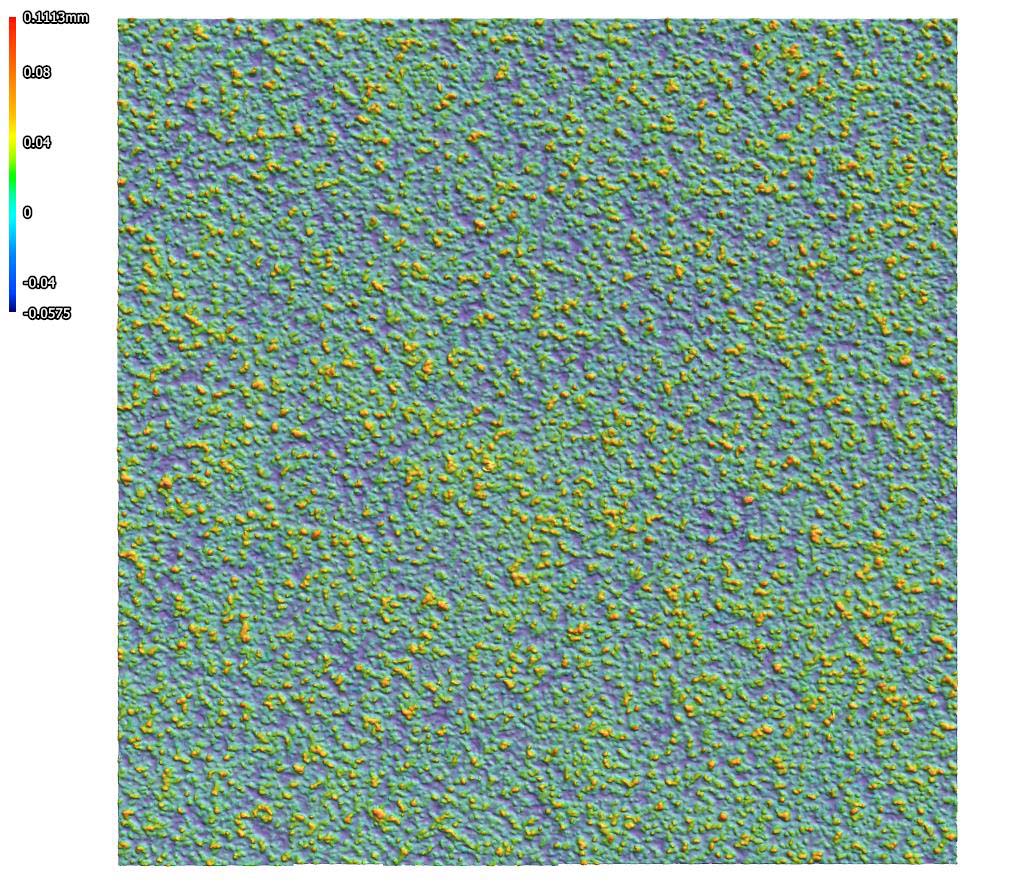
Grit size in sandpaper corresponds to the roughness and texture of its surface, which is crucial for manufacturing applications like sanding, polishing, or abrasive processes. 3D optical profilometry measures surface roughness by capturing detailed topographic maps of the sandpaper’s surface. The benefit of 3D mapping is in collecting large area measurements to better understand grit size and distribution.

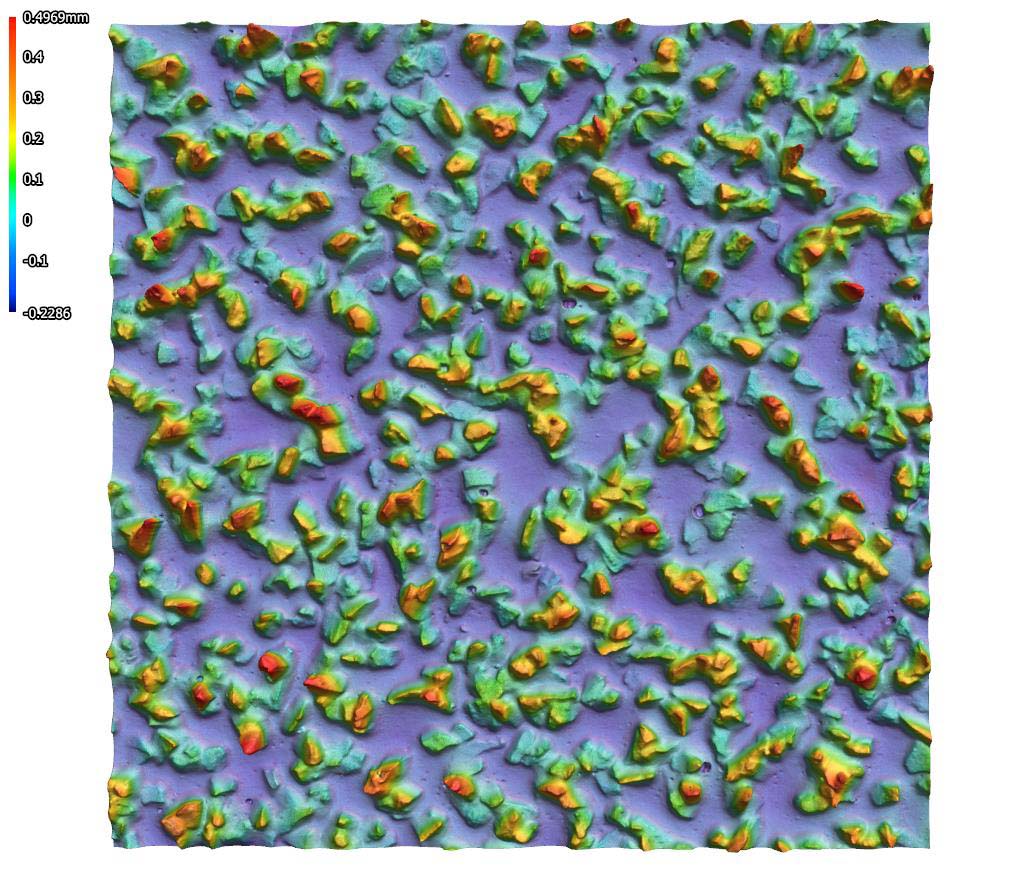
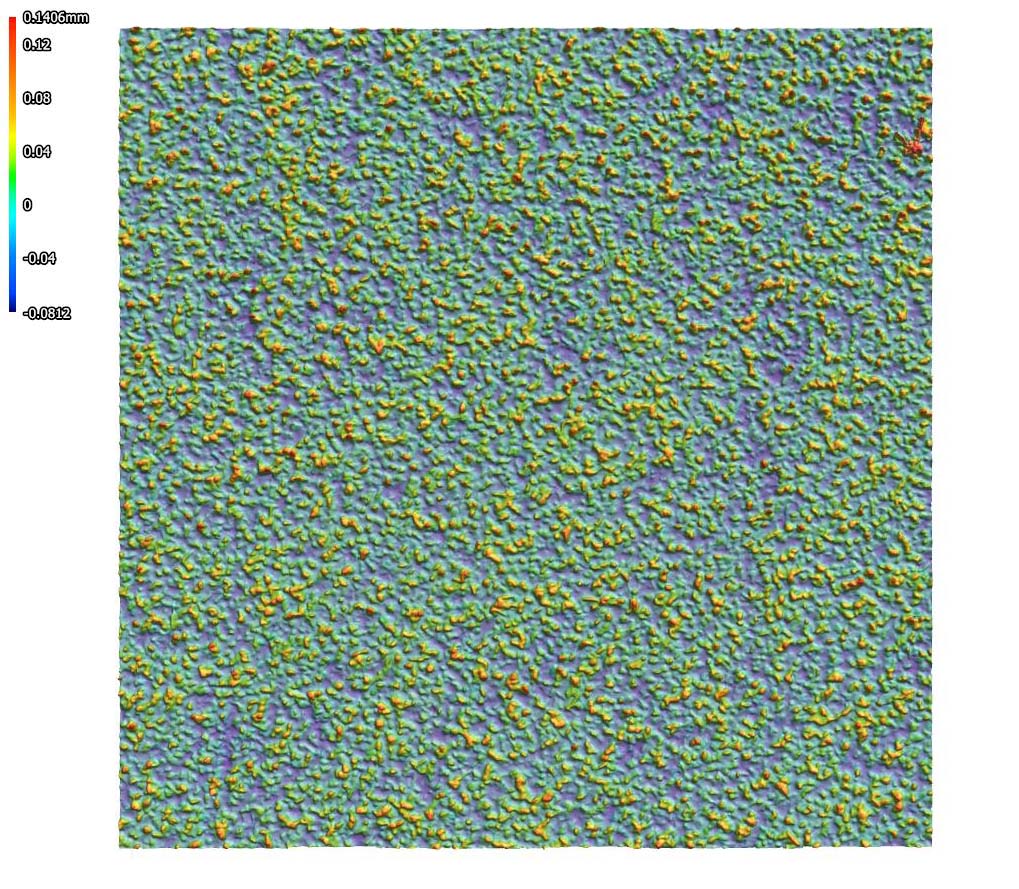
It also allows us to compare sandpapers of various grit sizes, objectively analyzing the relationship between grit size and surface roughness.

40 Grit Min/Max range:  0.7255mm

100 grit min/max range: 0.3009mm

150 Grit Min/Max range:  0.2218mm

220 grit MIN/MAX RANGE: 0.1688

PARAMETER RECOMMENDATION TOOL

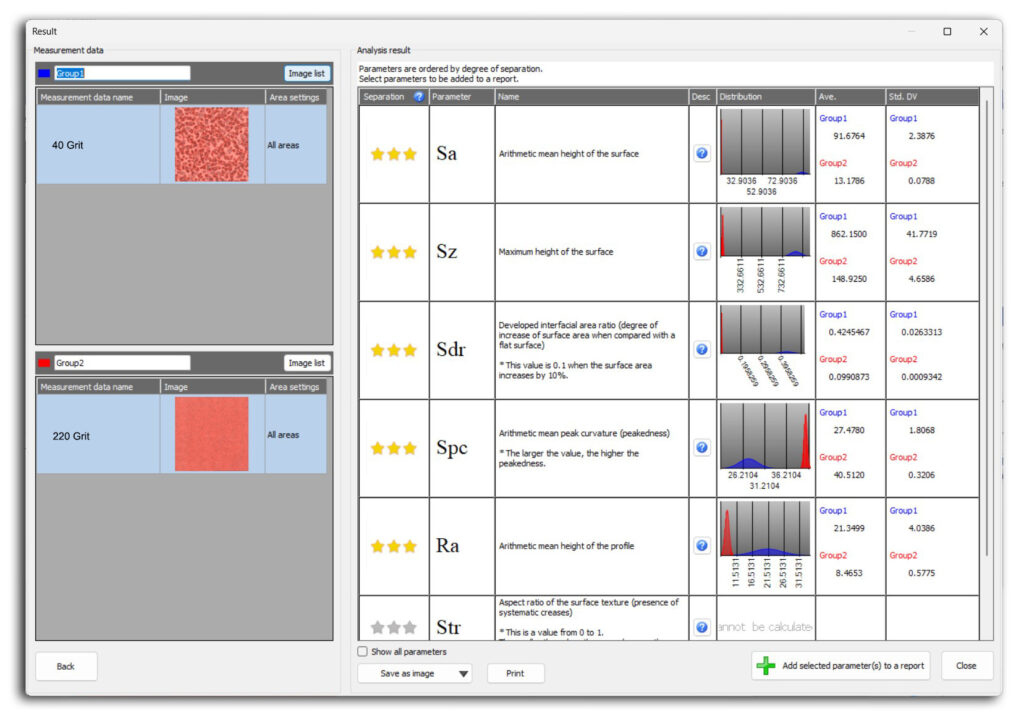
A unique feature to the Keyence VR system is the “Parameter Recommendation” function. If you have two samples with an undescribed or unknown difference, the recommendation tool can process the scans through a variety of metrics for sample comparison. Below demonstrates a direct comparison of five metrics (Sa, Sz, Sdr, Spc, and Ra) between the 40 and 220 grit samples.

Modular Surface Roughness Inspection of Large Assemblies

Surface Roughness of Large Components

Our modular & portable Keyence optical scanner offers significant advantages for surface roughness mapping of large components. Its high-precision laser scanning enables detailed, accurate measurements across expansive surfaces, ensuring consistent quality control.

The modular design allows for flexible data acquisition, making it suitable for various industrial applications and capable of handling components of different sizes. Its ability to produce high-resolution, 3D surface profiles enhances the detection of minute imperfections and variations. 

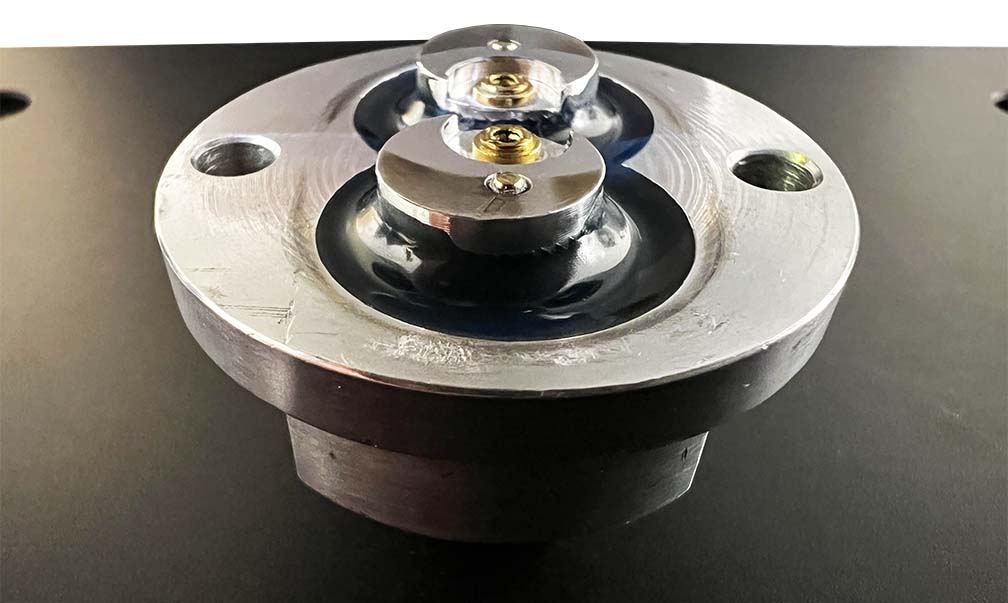
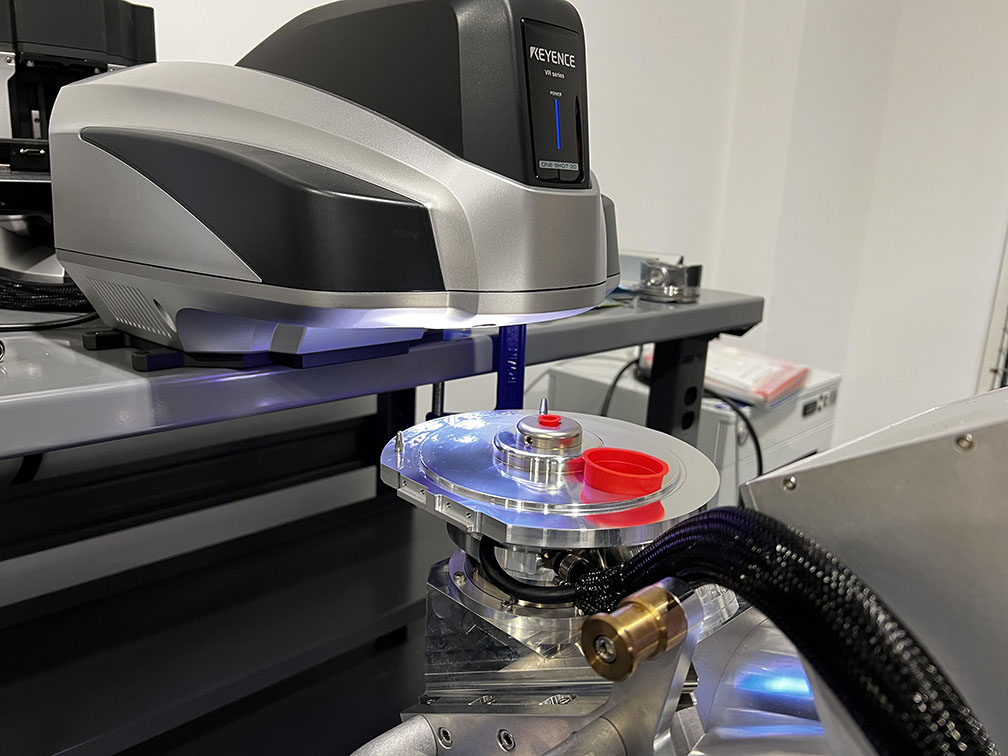
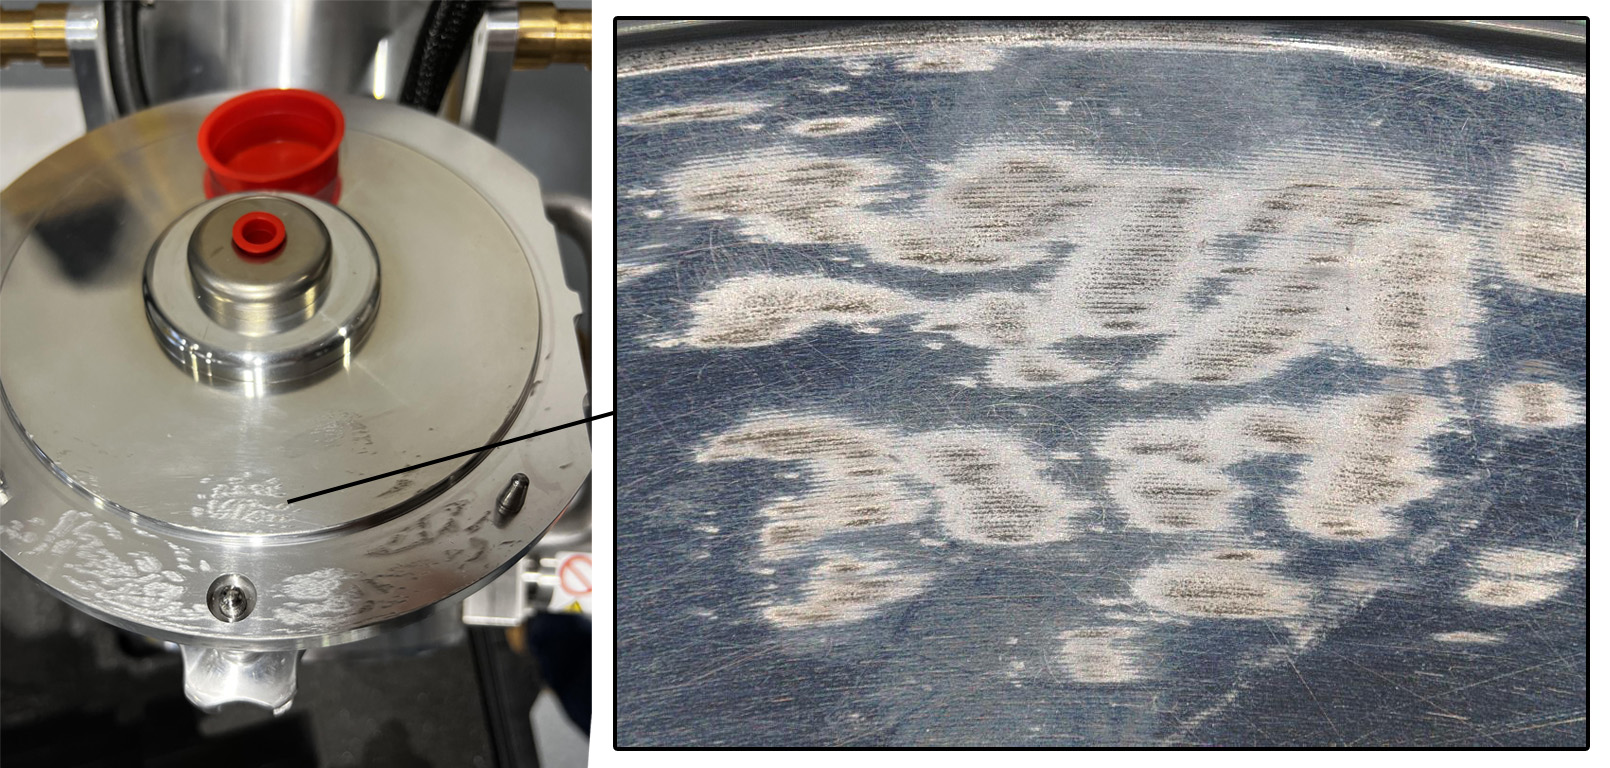
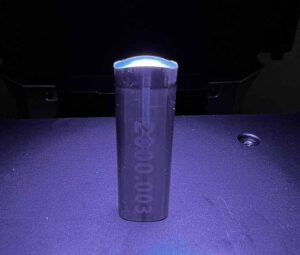
This case study demonstrates the scan head fixed to the edge of a table with the test specimen lifted into focus below the scan zone. The test specimen is an x-ray source with a peculiar roughness condition near a vacuum sealing surface.

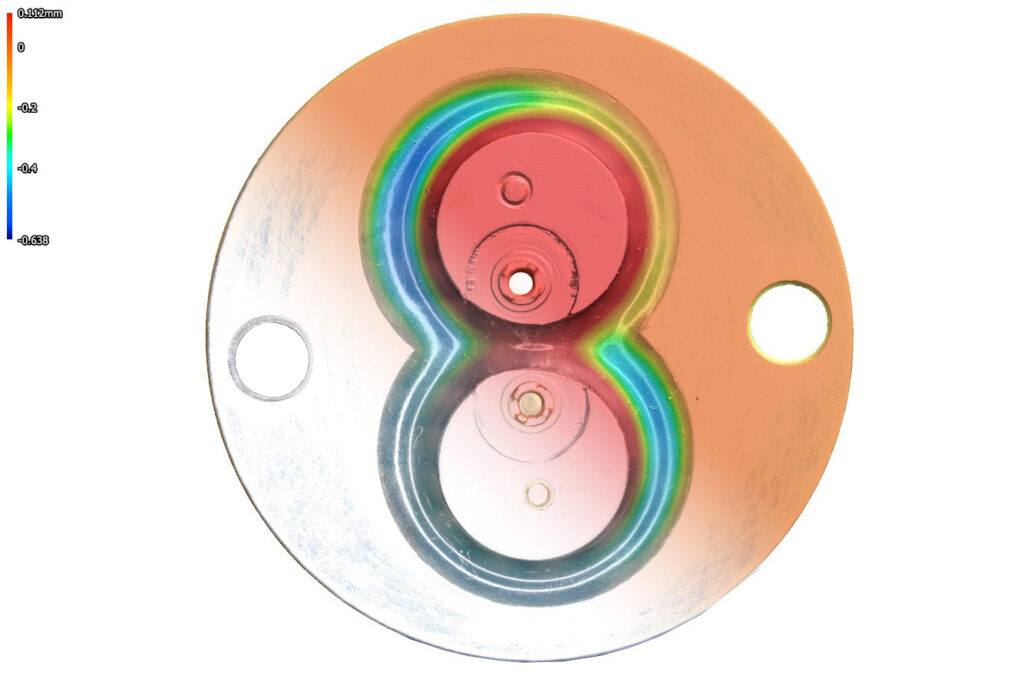
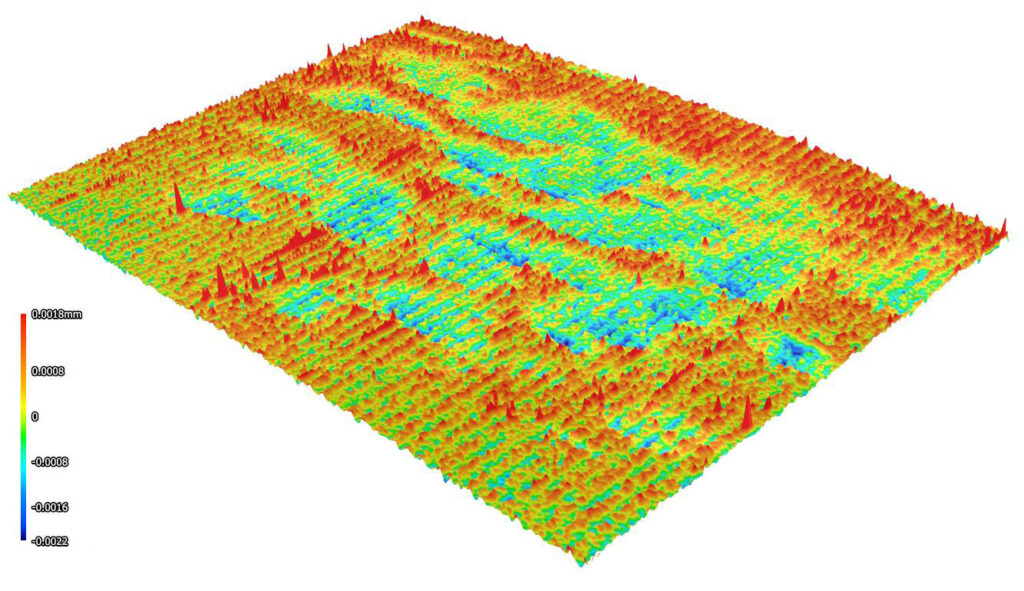
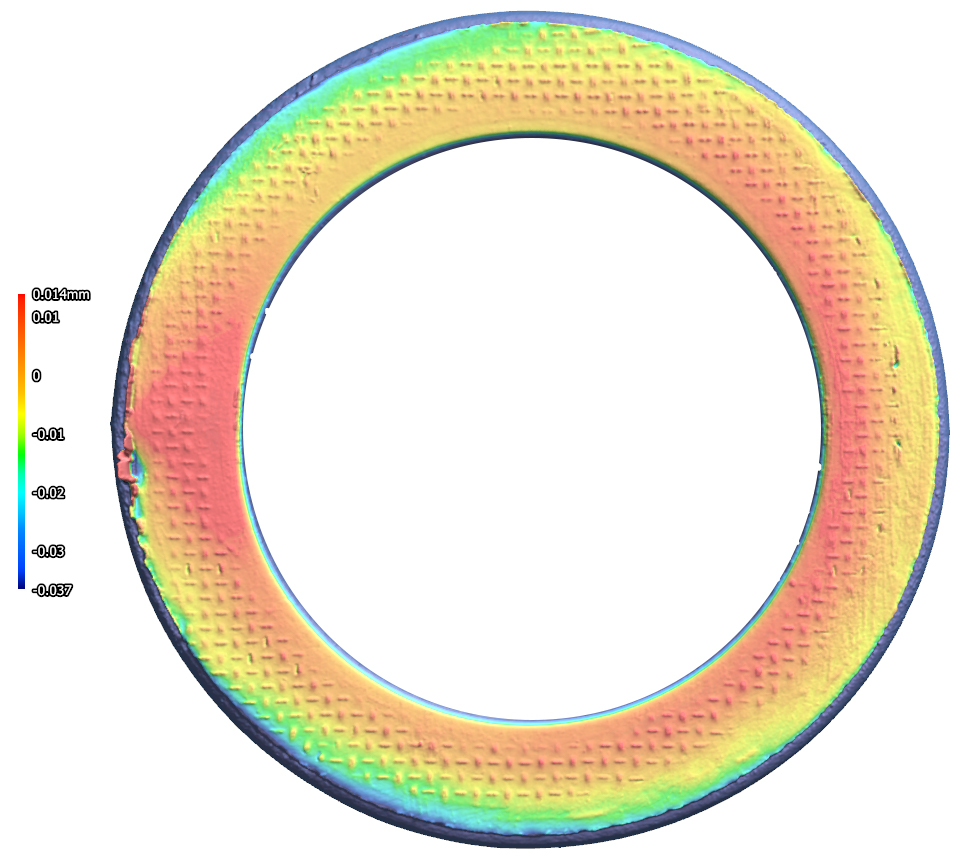
SURFACE ROUGHNESS MAP +-.002 MICRONS

The below 3D scan shows a range of surface deviation between +.0018mm and -.0022mm.

Measuring Transparent Geometry using Repliset

MEASURING GLASS USING STREURS REPLISET

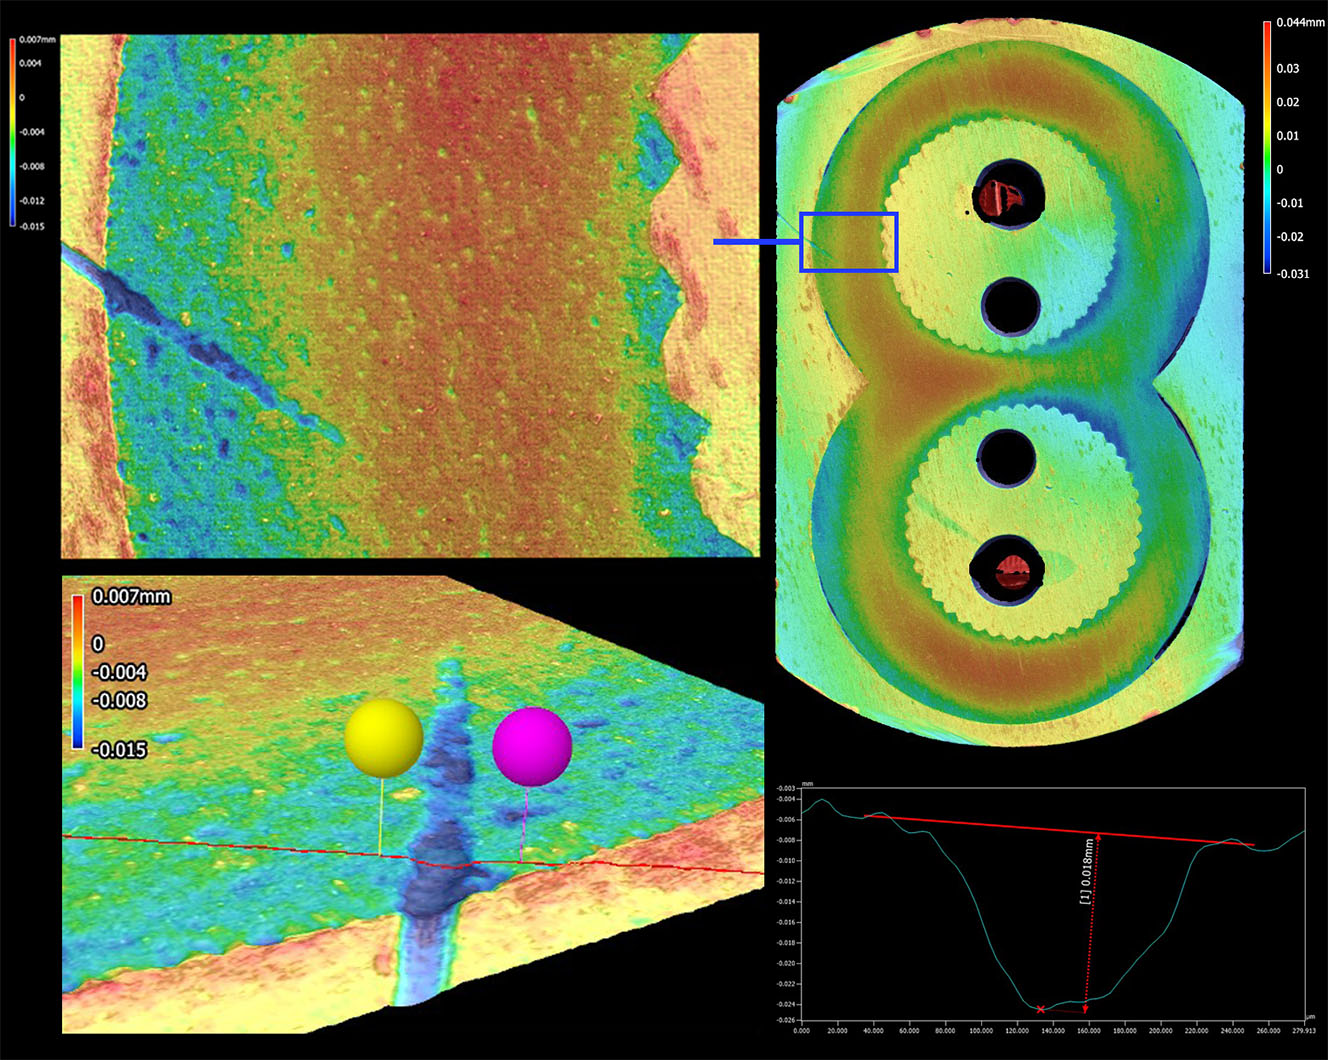
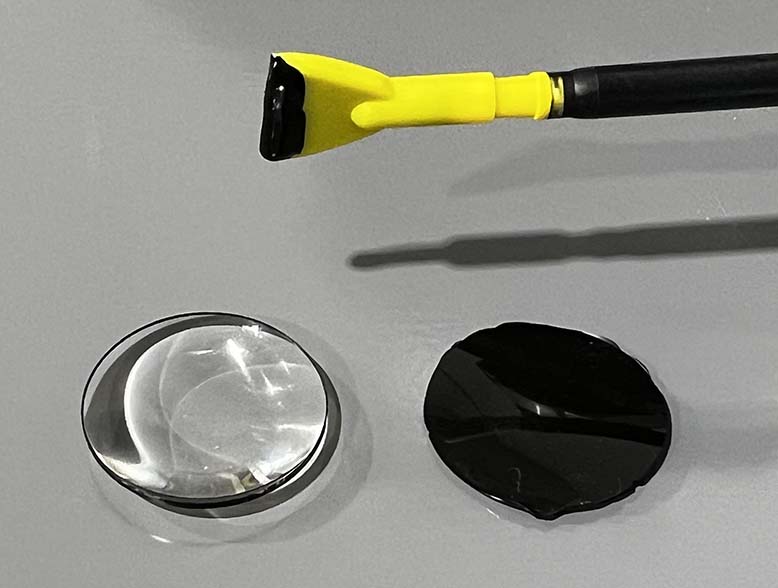
The Streurs RepliSet produces replicas that are dimensionally correct and have an ultrafine detail reproduction. RepliSet can replicate details with dimensions less than 0.1 micron over the whole replica surface, which can be of any size or shape. RepliSet has no shrinkage and can thus be used for highly accurate metrological measurements.
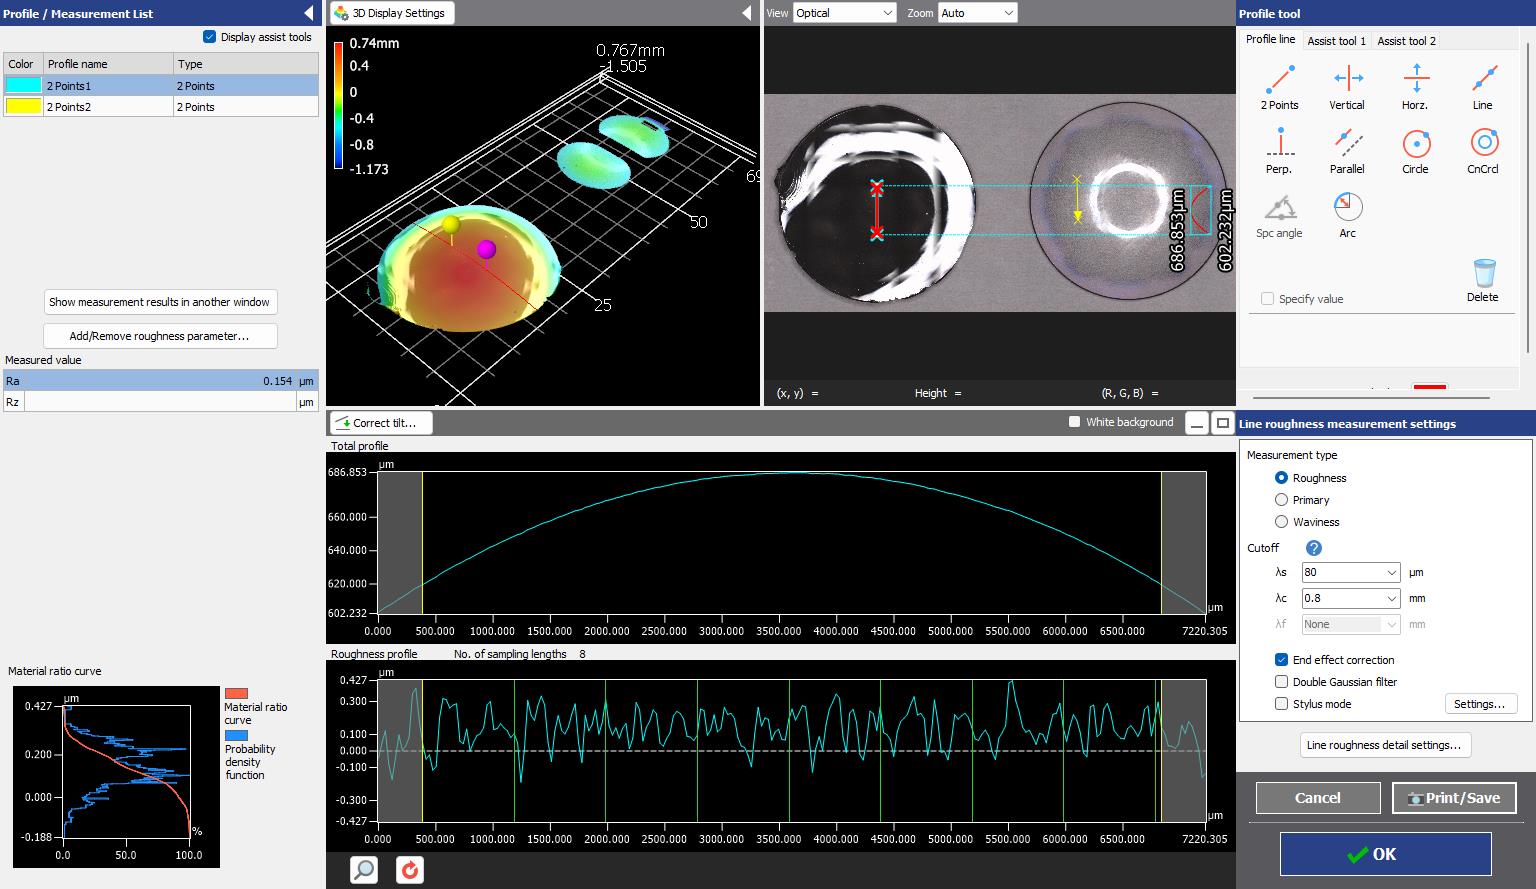
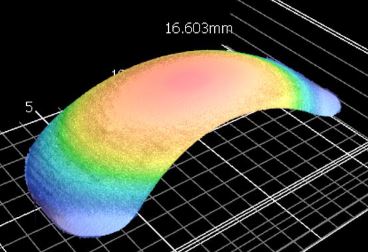
For example, RepliSet was used to coat this lens for surface roughness inspection. The below shows data using Repliset and data from our Keyence VR6000 without ReliSet. The right (blue-to-green) data shows no lens contour and is not able to be measured because the white light fringe pattern passed through the material.
Measuring Piston Groove Surface Roughness

SURFACE FINISH OF PISTONS

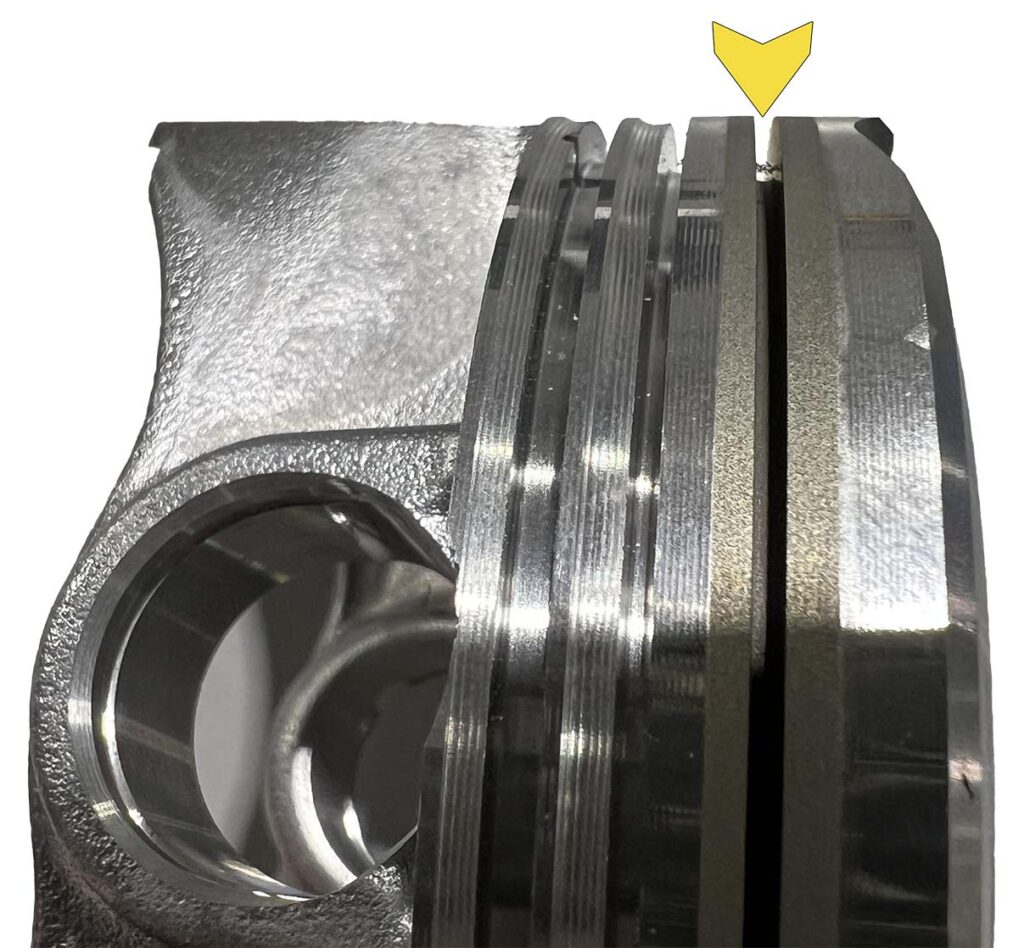
Surface finish is a critical factor in the performance and longevity of engine pistons. As the primary component that converts combustion energy into mechanical motion, pistons operate under extreme conditions, including high temperatures, pressures, and friction. The surface finish of a piston directly influences its ability to retain oil for lubrication, form effective seals with the piston rings, minimize friction with the cylinder wall, and manage heat dissipation.
Surface finish of pistons is difficult to achieve due to their complex shapes, inaccessible geometries for tactile probes, varying material properties, and tight tolerances. Our non-contact optical profilometer (Keyence VR6000) allows us to three dimensionally capture these geometries and specify exactly where optimal measurements should be performed.

Piston Oil Grooves - Surface Finish Keyence VR6000 Optical Profilometer

PIN BOSS GROOVE

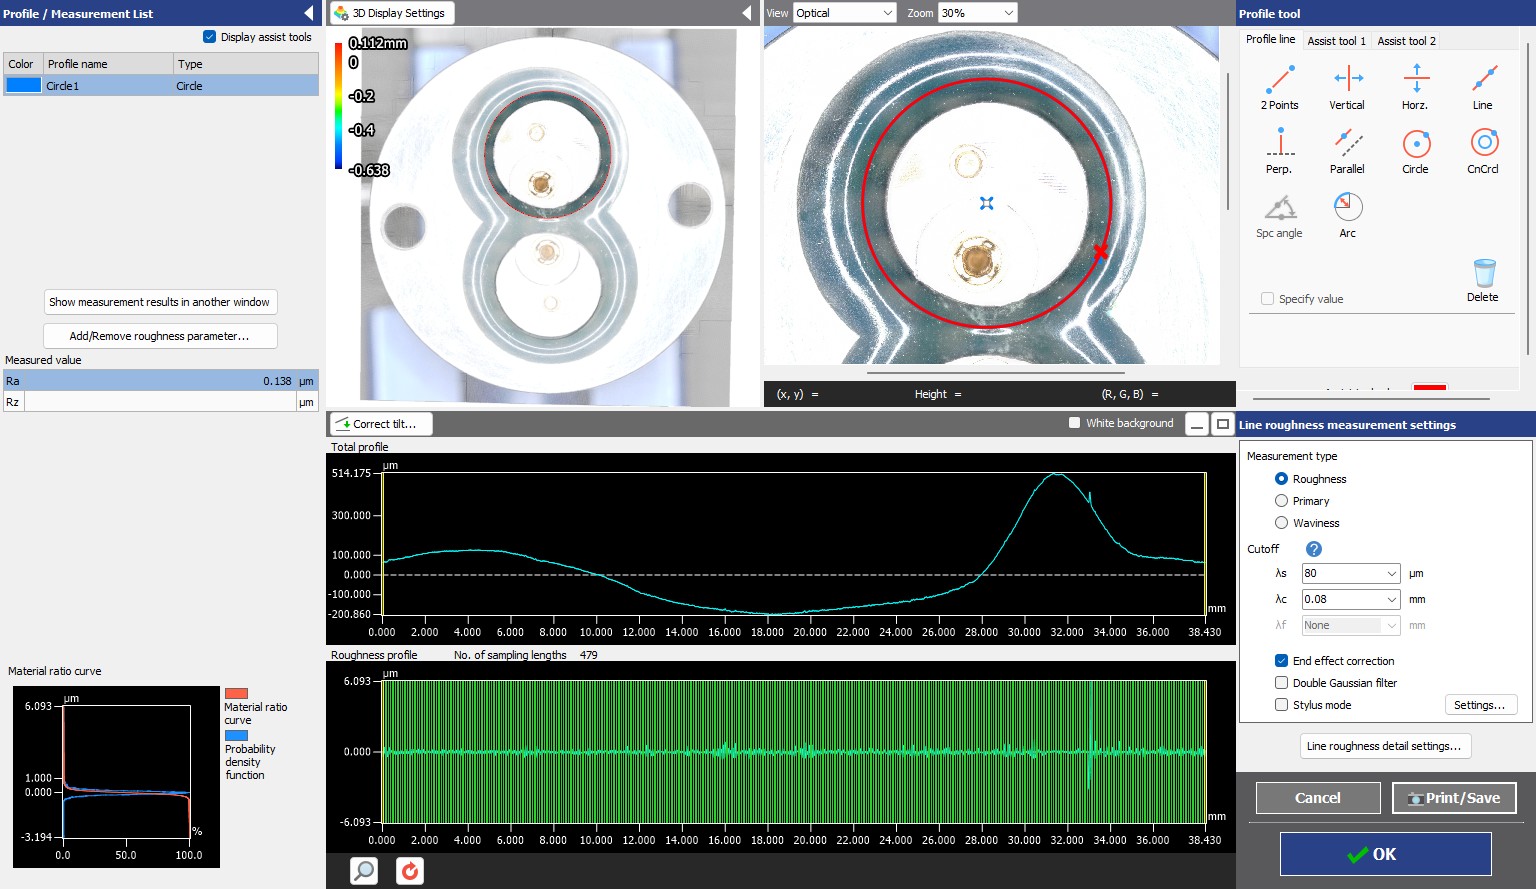
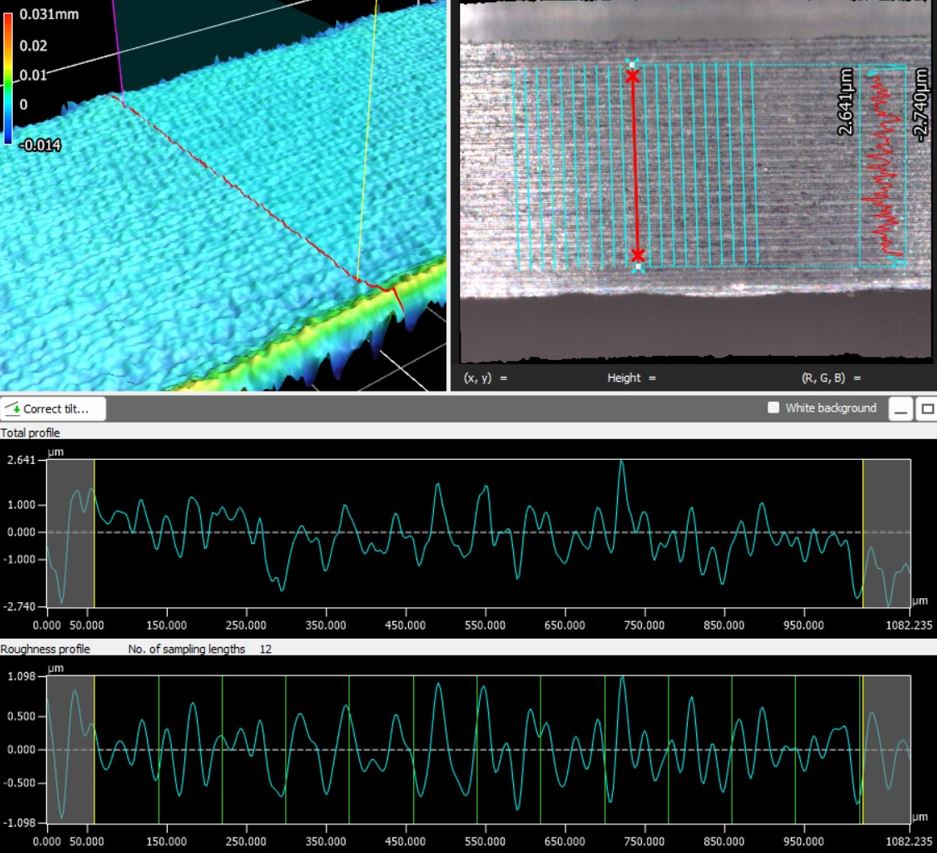
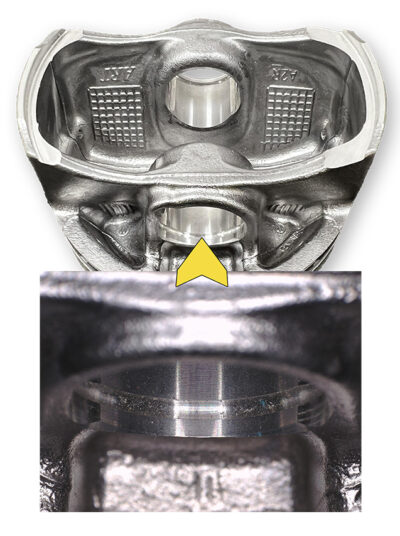
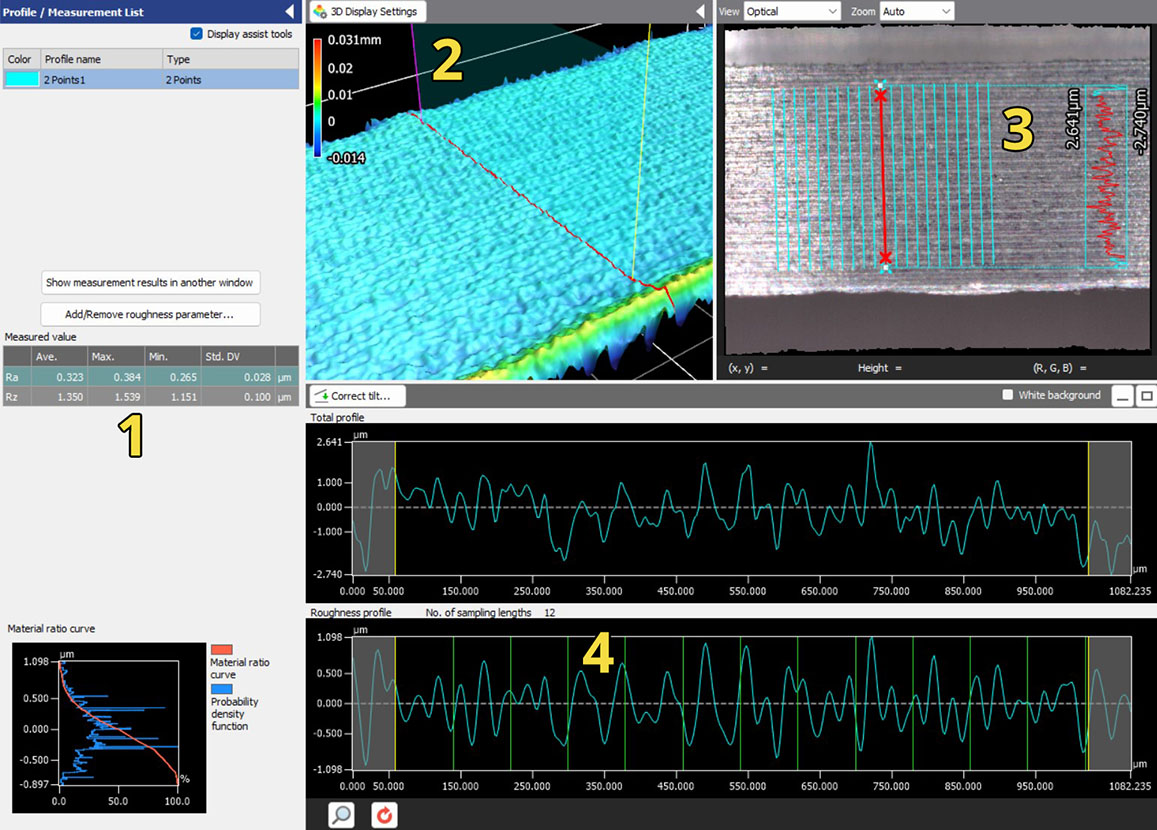
Due to the short run available for measurement, tactile profilometers may struggle to perform this measurement. By angling the piston a few degrees we can capture 30-40 degrees of the groove. Below are some descriptions of the measurements:

  1. Ra & Rz values
  2. 3D map of surface with deviation values
  3. Multi-line profilometer measurements across the groove
  4. Surface profile and roughness profiles, sampling lengths

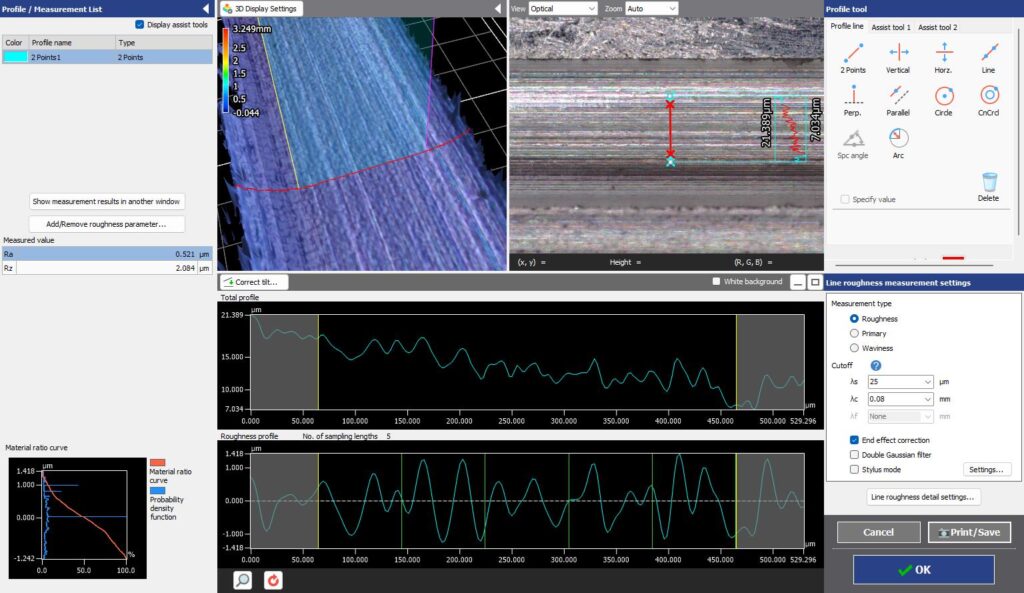
COMPRESSION RING GROOVES

These narrow but deep grooves make inspection particularly difficult, if not impossible for tactile probes. A distinct advantage of non-contact optical profilometry is the fast acquisition, repeatable measurements, and robust visualization of the geometry.

Optical 3D Profiling of Overmolded Filter

INSPECTING OVERMOLDED MESH FILTERS

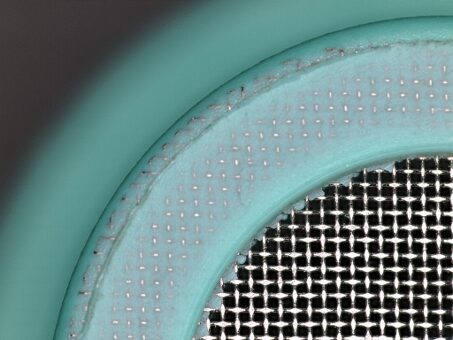
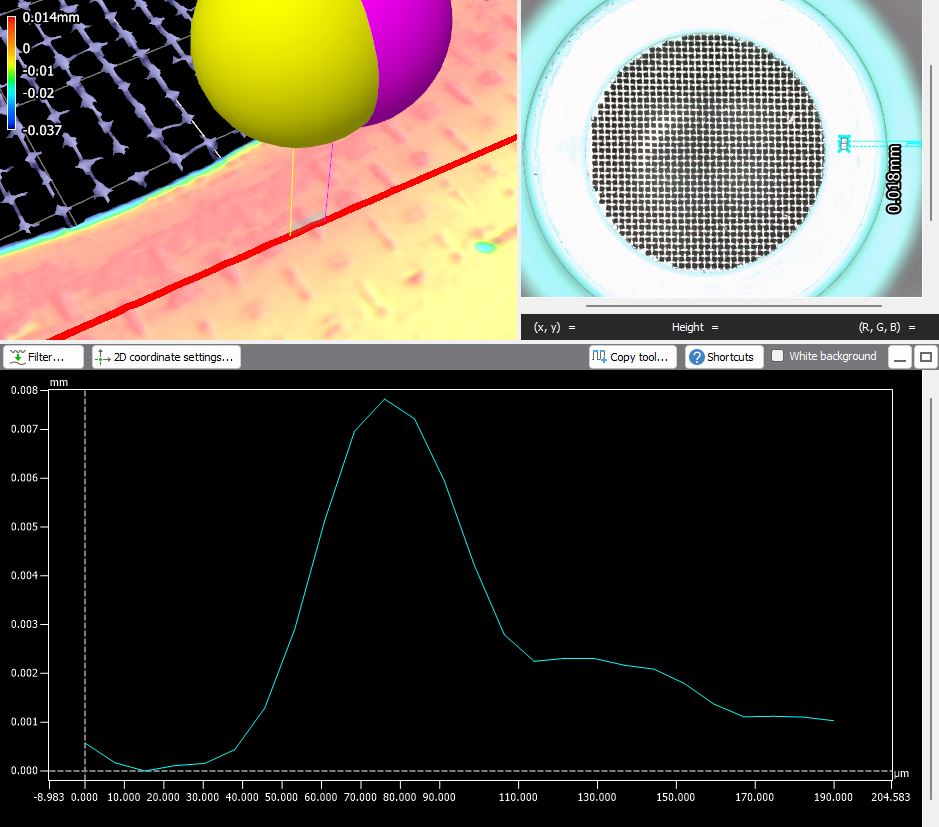
Over-molded fine mesh filters are used in every industry for applications like oil, water, and air filtration. The Keyence VR Optical Profilometer allows us to inspect mesh protrusions to improve flow efficiency, reduce debris accumulation, and improving the lifespan of the filter.

We are able to produce high magnification, telecentric imaging of components for visual inspection, 2D programmable measurement routines, and submicron resolution 3D scans for CAD comparisons, reverse engineering, and FEA.

HIGH RESOLUTION 3D SCAN WITH PROFILE MAPPING

HEIGHT MEASUREMENT OF PROTRUSION (8um)

IIC Onboards 2D Vision & Optical Profilometer Services

IIC Onboards Vision & Surface Finish Services

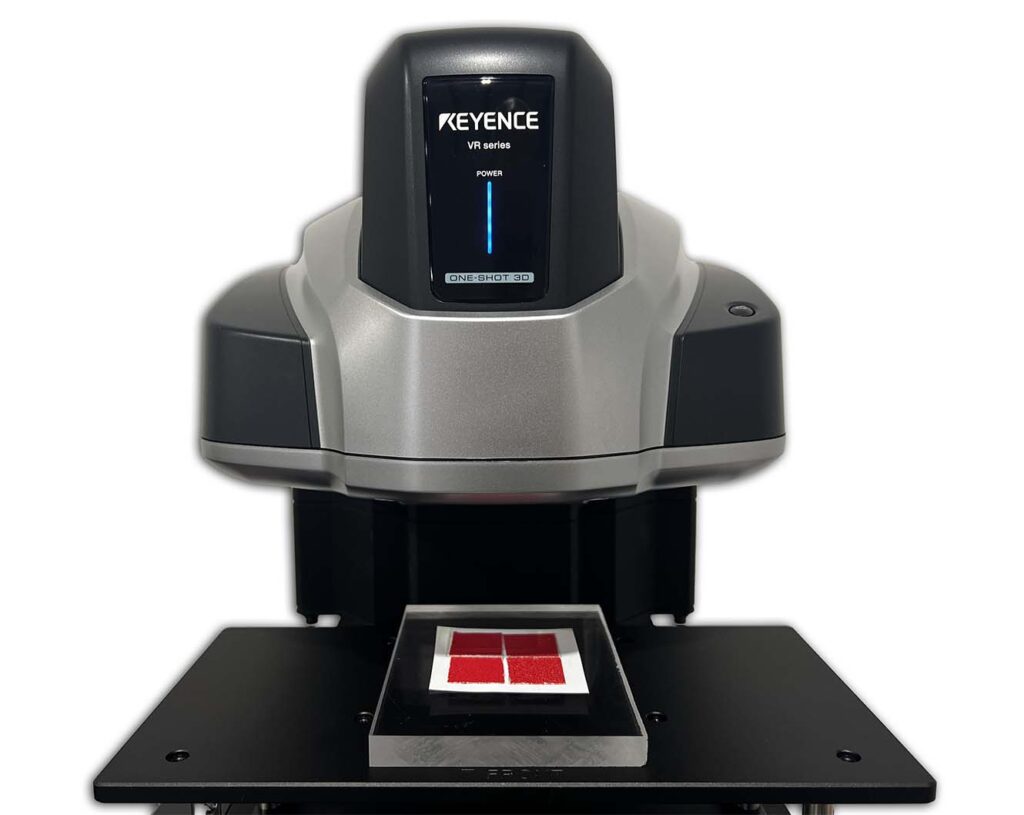
In the fast-paced world of manufacturing and quality control, precision and accuracy are non-negotiable. Our Keyence VR 6000, a cutting-edge optical, non-contact, programmable surface roughness and metrology inspection system is revolutionizing the way our clients approach quality assurance.

Traditional methods of vision and surface inspections can be time-consuming and prone to error, but with the Keyence VR 6000, we offer a powerful tool that delivers unparalleled accuracy and efficiency. This state-of-the-art system allows for high-speed, non-destructive measurements, providing crucial insights into surface finish and dimensional characteristics without physical contact.